Auto-Scheduling
WorkSchedule.Net has an auto-schedule feature that will automatically assign the best employee for each open shift in your schedule according to your rules. It is important to understand how to configure your rules in order to use this feature.
To use Auto-Scheduling:
-
Make sure your rules are configured properly.
-
Select the open time blocks you want to be auto-scheduled.

-
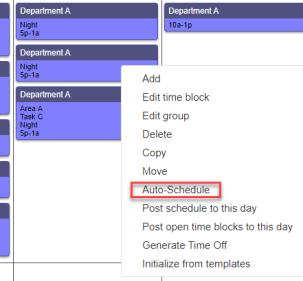
Right click on any of the highlighted time blocks and select Auto-Schedule.
-
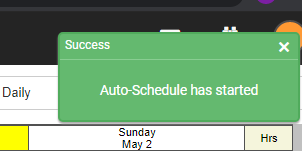
A green dialog box will appear in the upper left corner stating Auto-Schedule has started.
-
To view the completed Auto-Schedule you can go to one of two places:
-
You can click on the message icon
 in the upper right corner.
 -
Your in-box will appear.
-

-
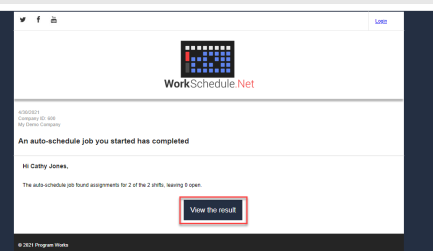
Select the Auto-schedule job you would like to review
-
-
Click View the Results
-
-
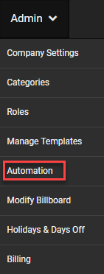
Or you can go to Admin>Automation
-
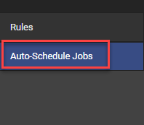
Then select Auto-Schedule Jobs on the left action menu.
-
-
Select the Auto-schedule job you would like to review by clicking on the edit pencil.
-

-
-
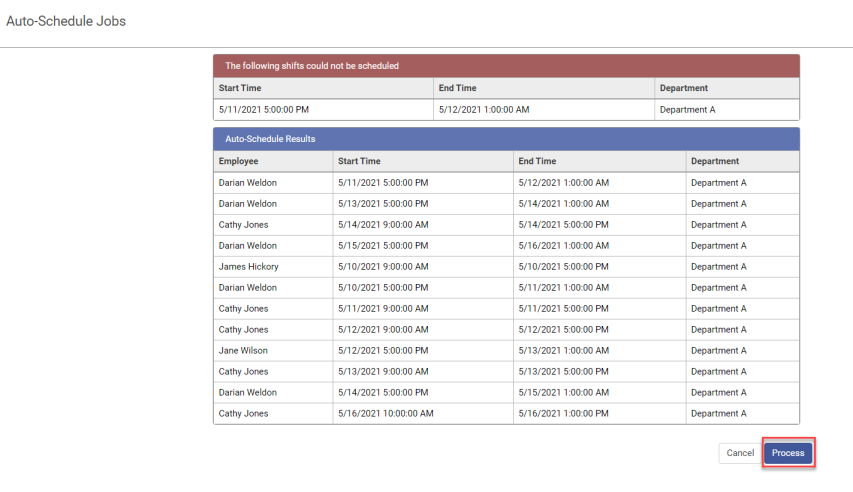
Auto-Schedule results will appear. They are two sections: shifts that could NOT be scheduled and shifts that have been matched with an employee. Note: If all time blocks are matched you will not see a section for shifts not scheduled.
-
Click Process
Copyright © 2021 Program Works